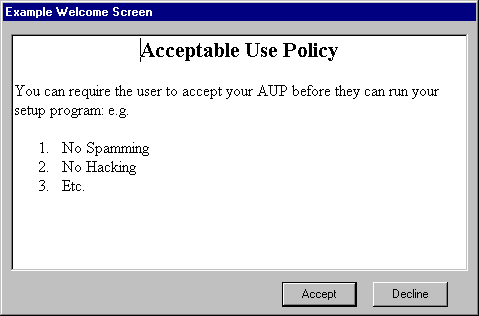
You can optionally show your users your Acceptable Use Policy when they start the setup program and require them to click accept before they can continue.
all screens adopt the Windows XP style) |
|
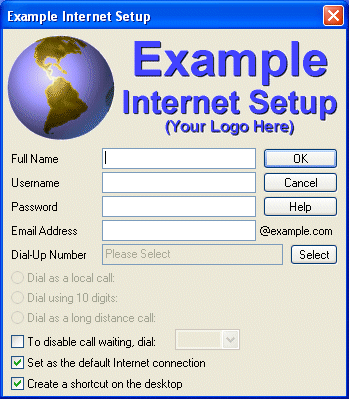
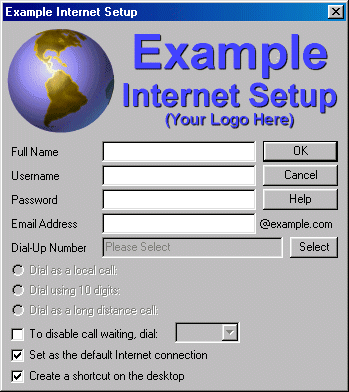
This is the main setup screen which asks the user to enter information such as their name, username and password. Depending on how you configure the software and the options that you choose, fields will be automatically added or removed from this screen as required.
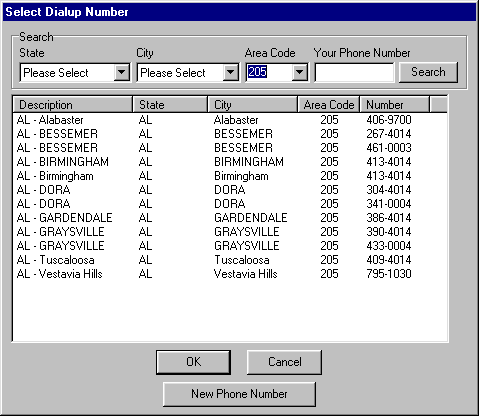
This screen makes it easy for your users to select a local access number. Depending on the options that you choose, users can search for a suitable local number by Country, State, Region, City, Area Code, Network. Users can even search by entering their own phone number if you supply a list of local area codes for each access number that you have.
If you have only a very small number of access numbers, you can just have the user select a number from a drop down combo box on the main setup screen instead of using the above access number selector. If you only have a single access number, it will be automatically chosen and the user won't see an option for this.
|
|
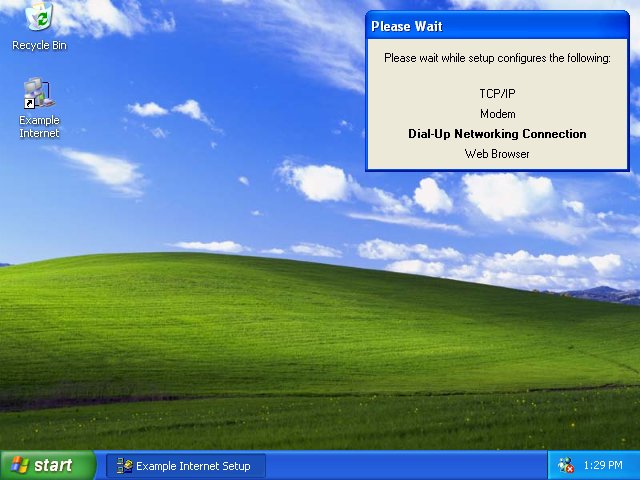
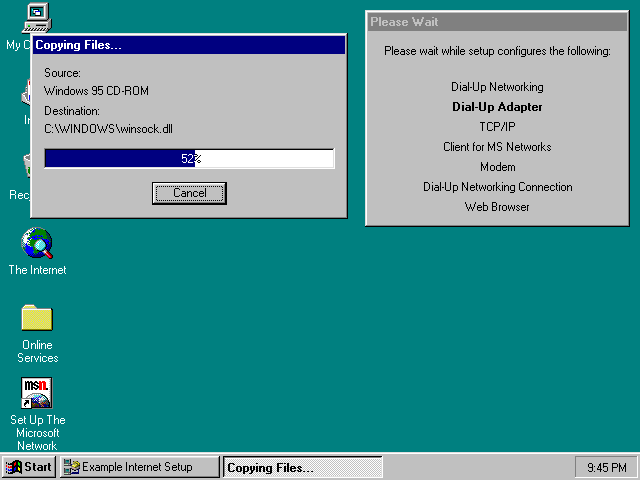
After the user has entered the required information and clicks OK, the software will then proceed to install and configure everything that is required.
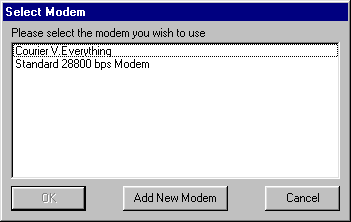
If there is no modem currently installed, the software will automatically launch the normal Windows Install New Modem Wizard.
If there is more than one modem installed, the user will be asked which modem they wish to use with this connection, otherwise if there is only one modem installed, it will be used by default.
Once the configuration process has been
completed, the browser update process will launched if it was selected,
otherwise it will then proceed to show an optional finished message.